11-12-08: Fuel Pressure Transducer Relocation
About a year ago, my Autometer Phantom fuel pressure gauge started reading about 10 PSI too low, and it took me a while to get around to debugging the problem. At idle, the vacuum was about 22 inches of mercury, which is about -11PSI. At that vacuum, with the fuel pump and fuel pressure regulator working properly, the fuel pressure should be about 28 PSI. When I checked with two different mechanical fuel pressure gauges, I saw about 32 PSI. When I tested the meter by hooking the sender up to a regulated compressor, it also read low.
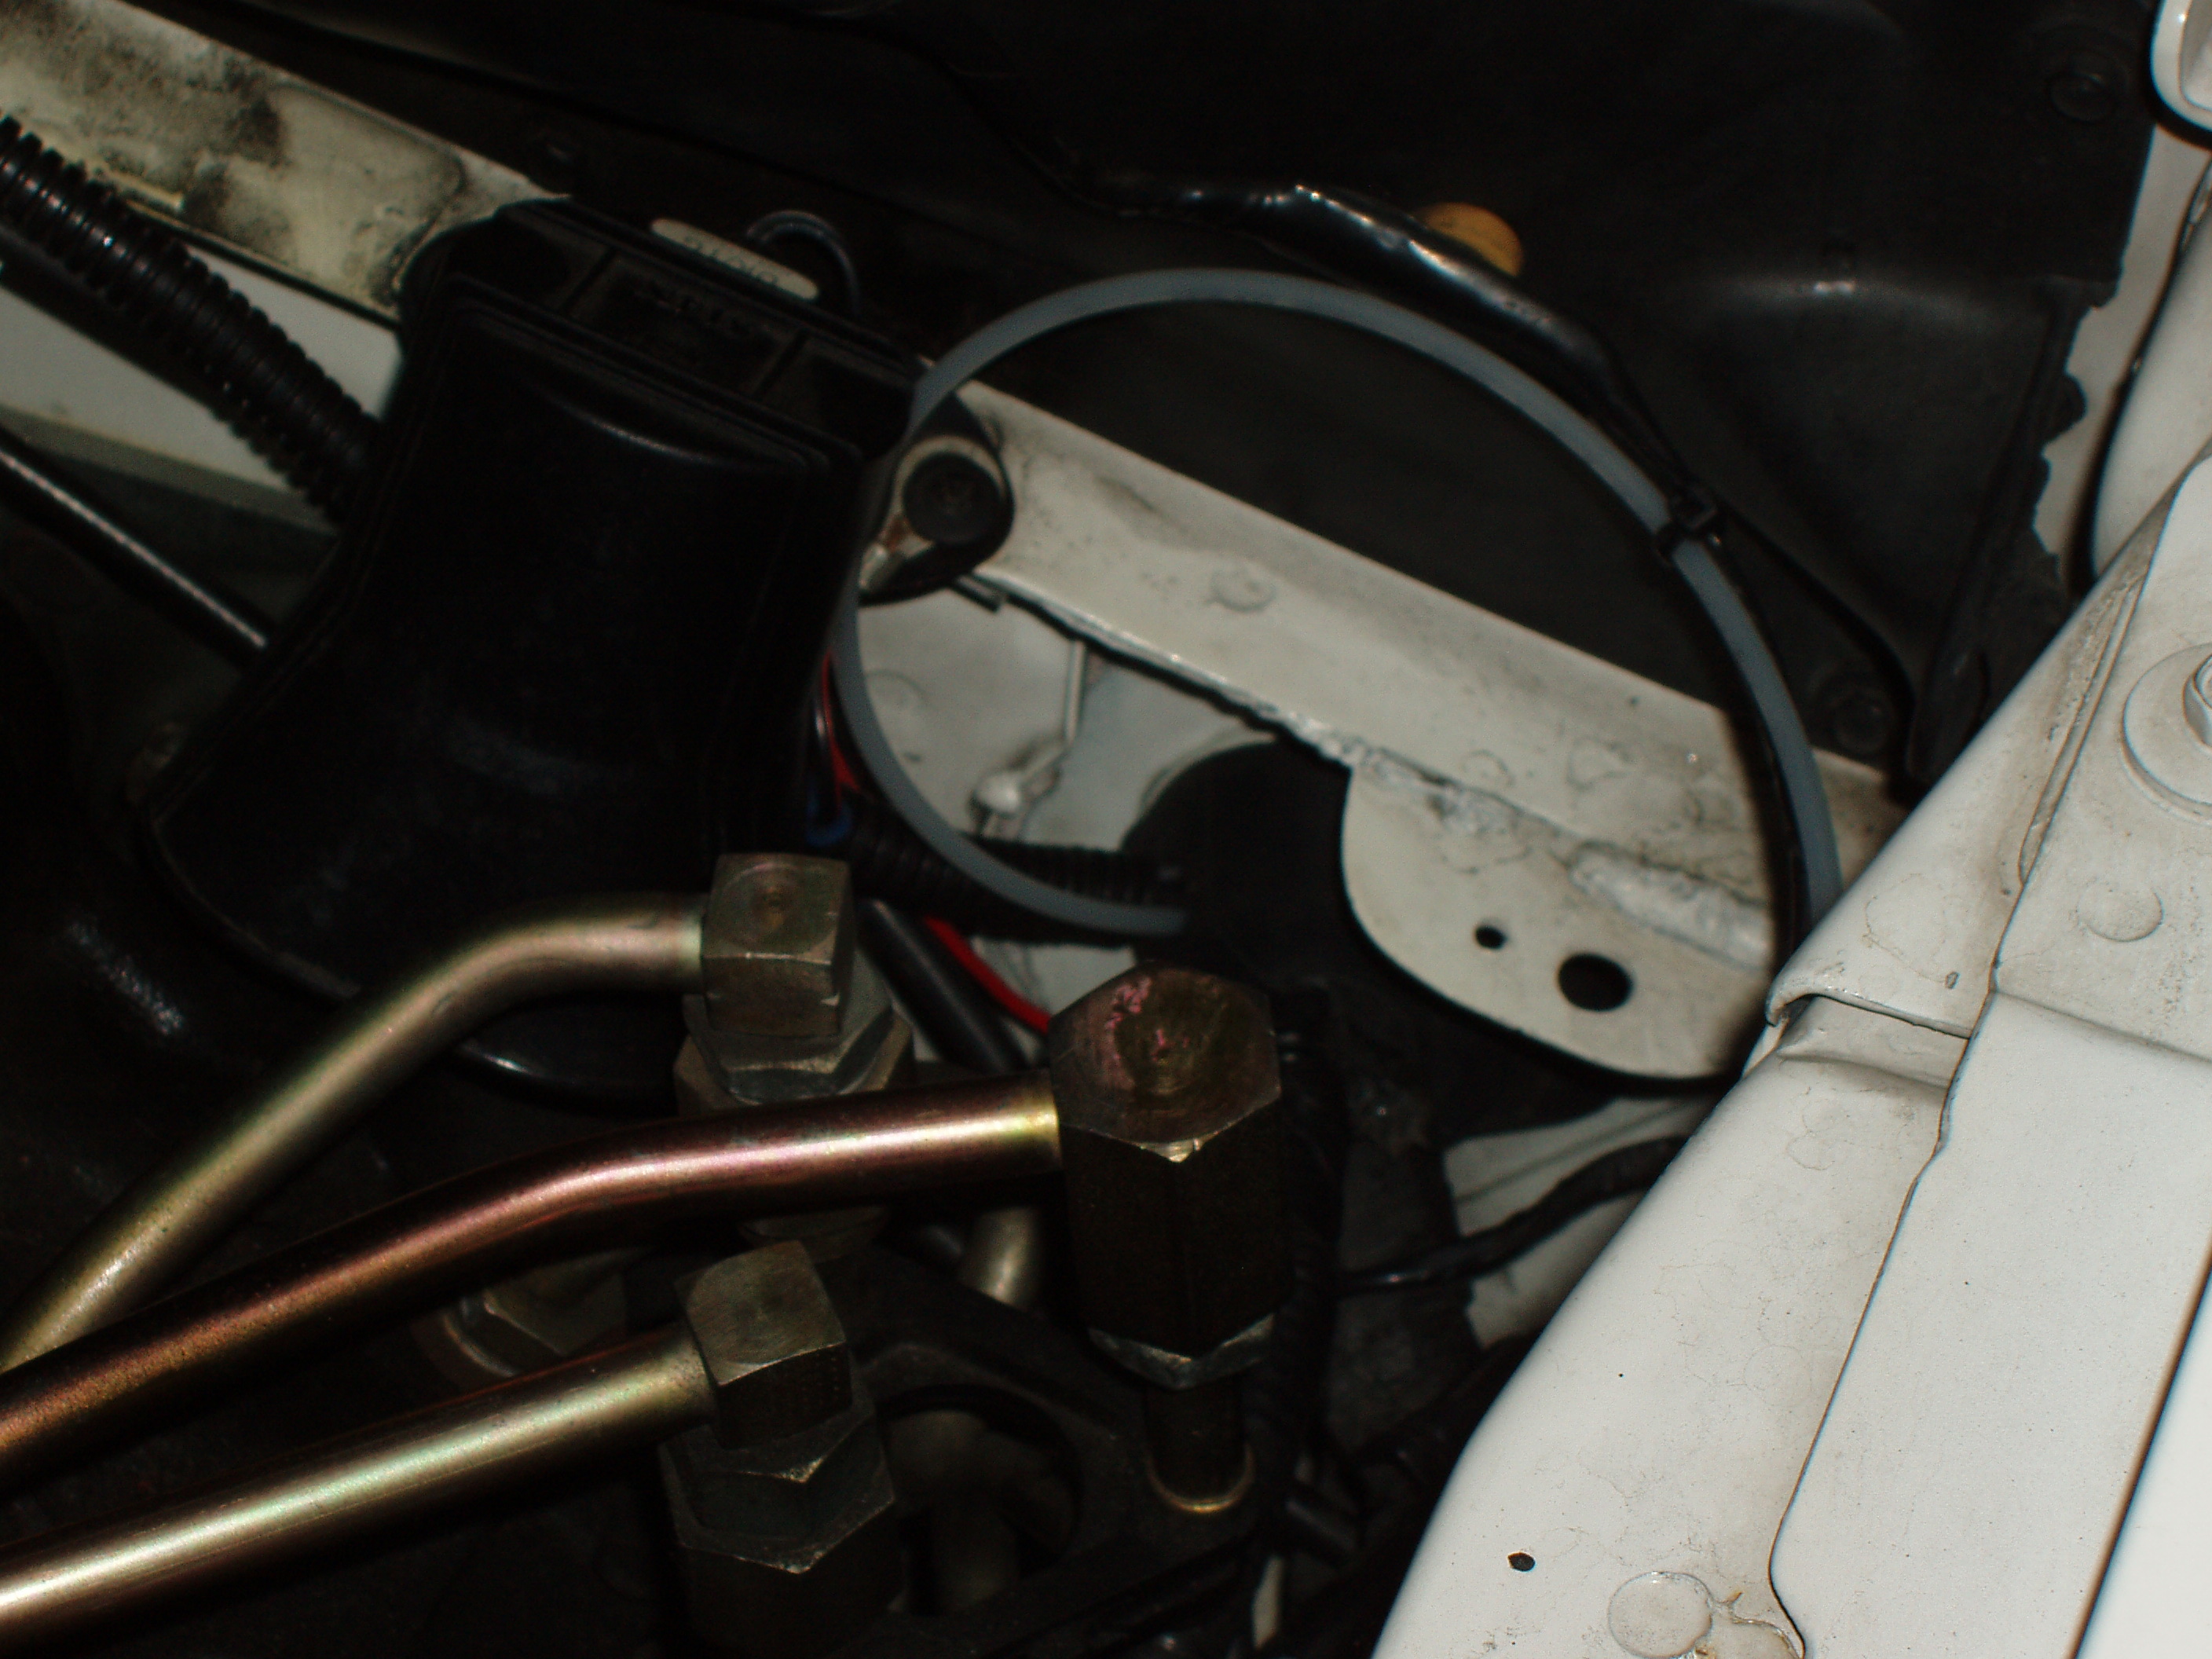
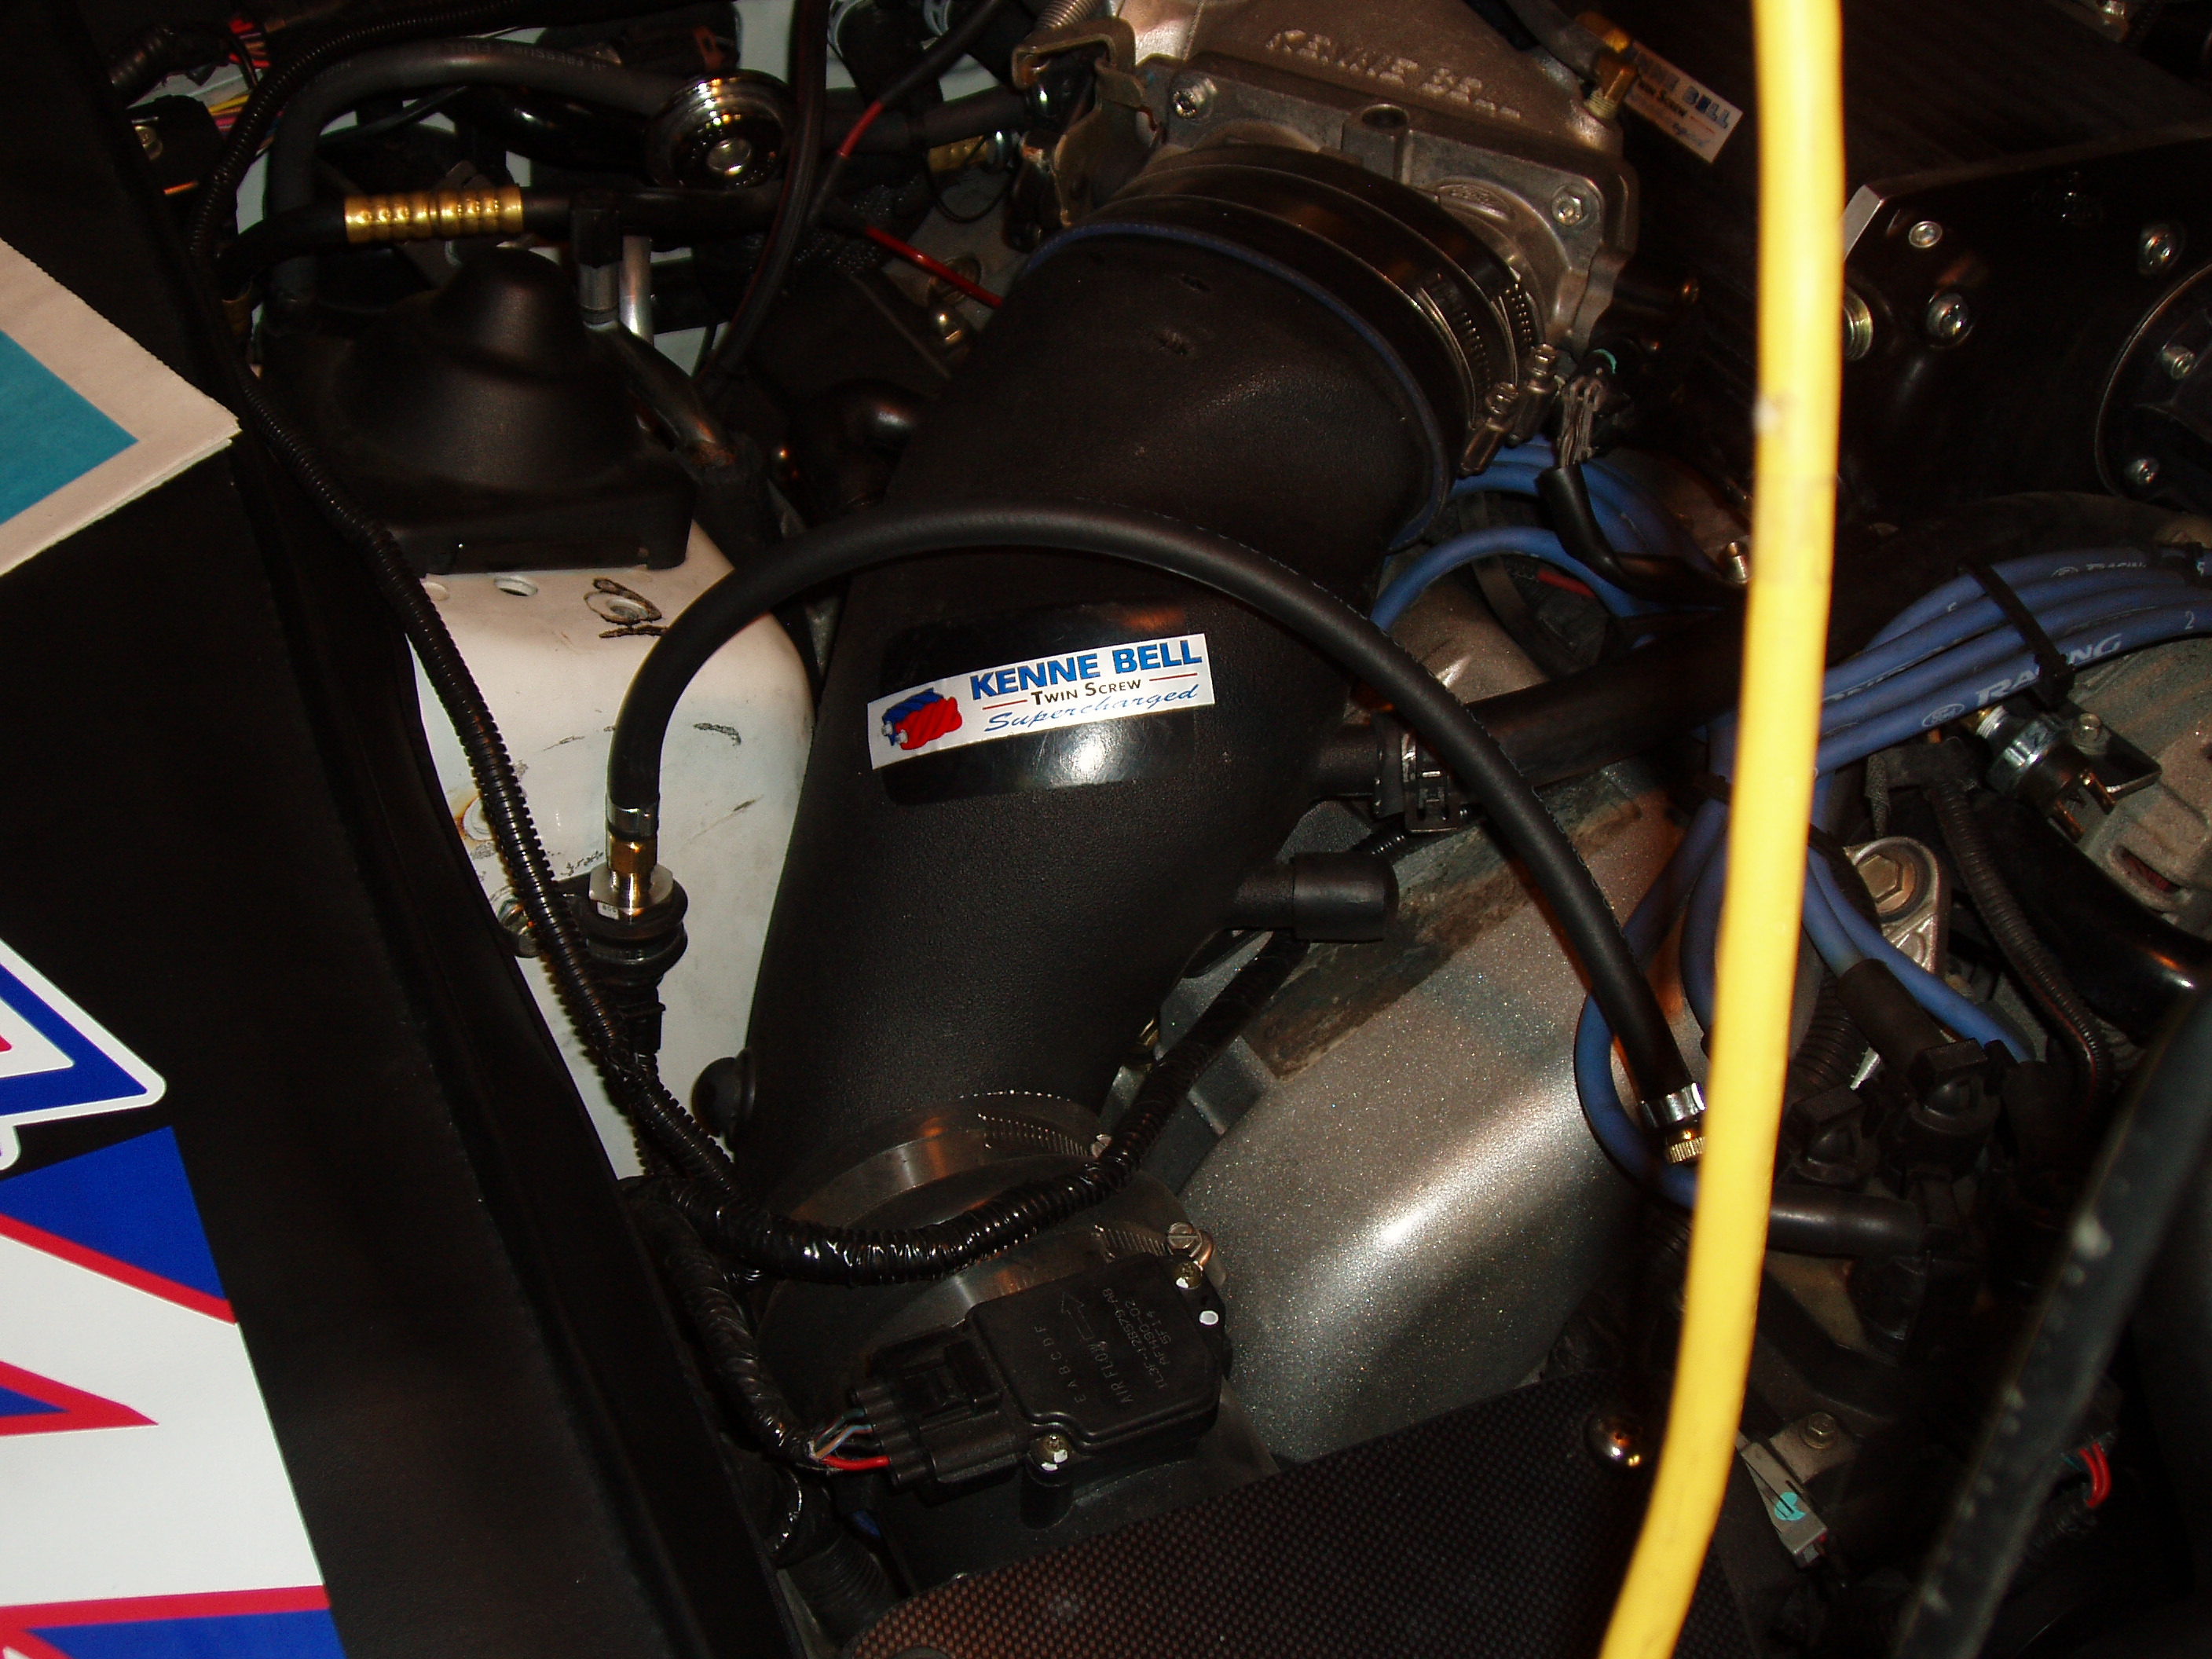
While researching the problem, I found the installation instructions on line, and read that, in full race or high RPM engines, the fuel pressure transducer should not be mounted to the fuel rail, rather it should be mounted remotely to the body of the car. The shop that installed the gauge when they installed the supercharger, installed it directly on the fuel rail.
I sent the transducer and gauge back to Autometer, and they determined that the transducer had failed. They gave me a new one for free, in spite of the fact that it is well out of warranty.
I decided to do a remote mount of the sender, so this is the how to for that.
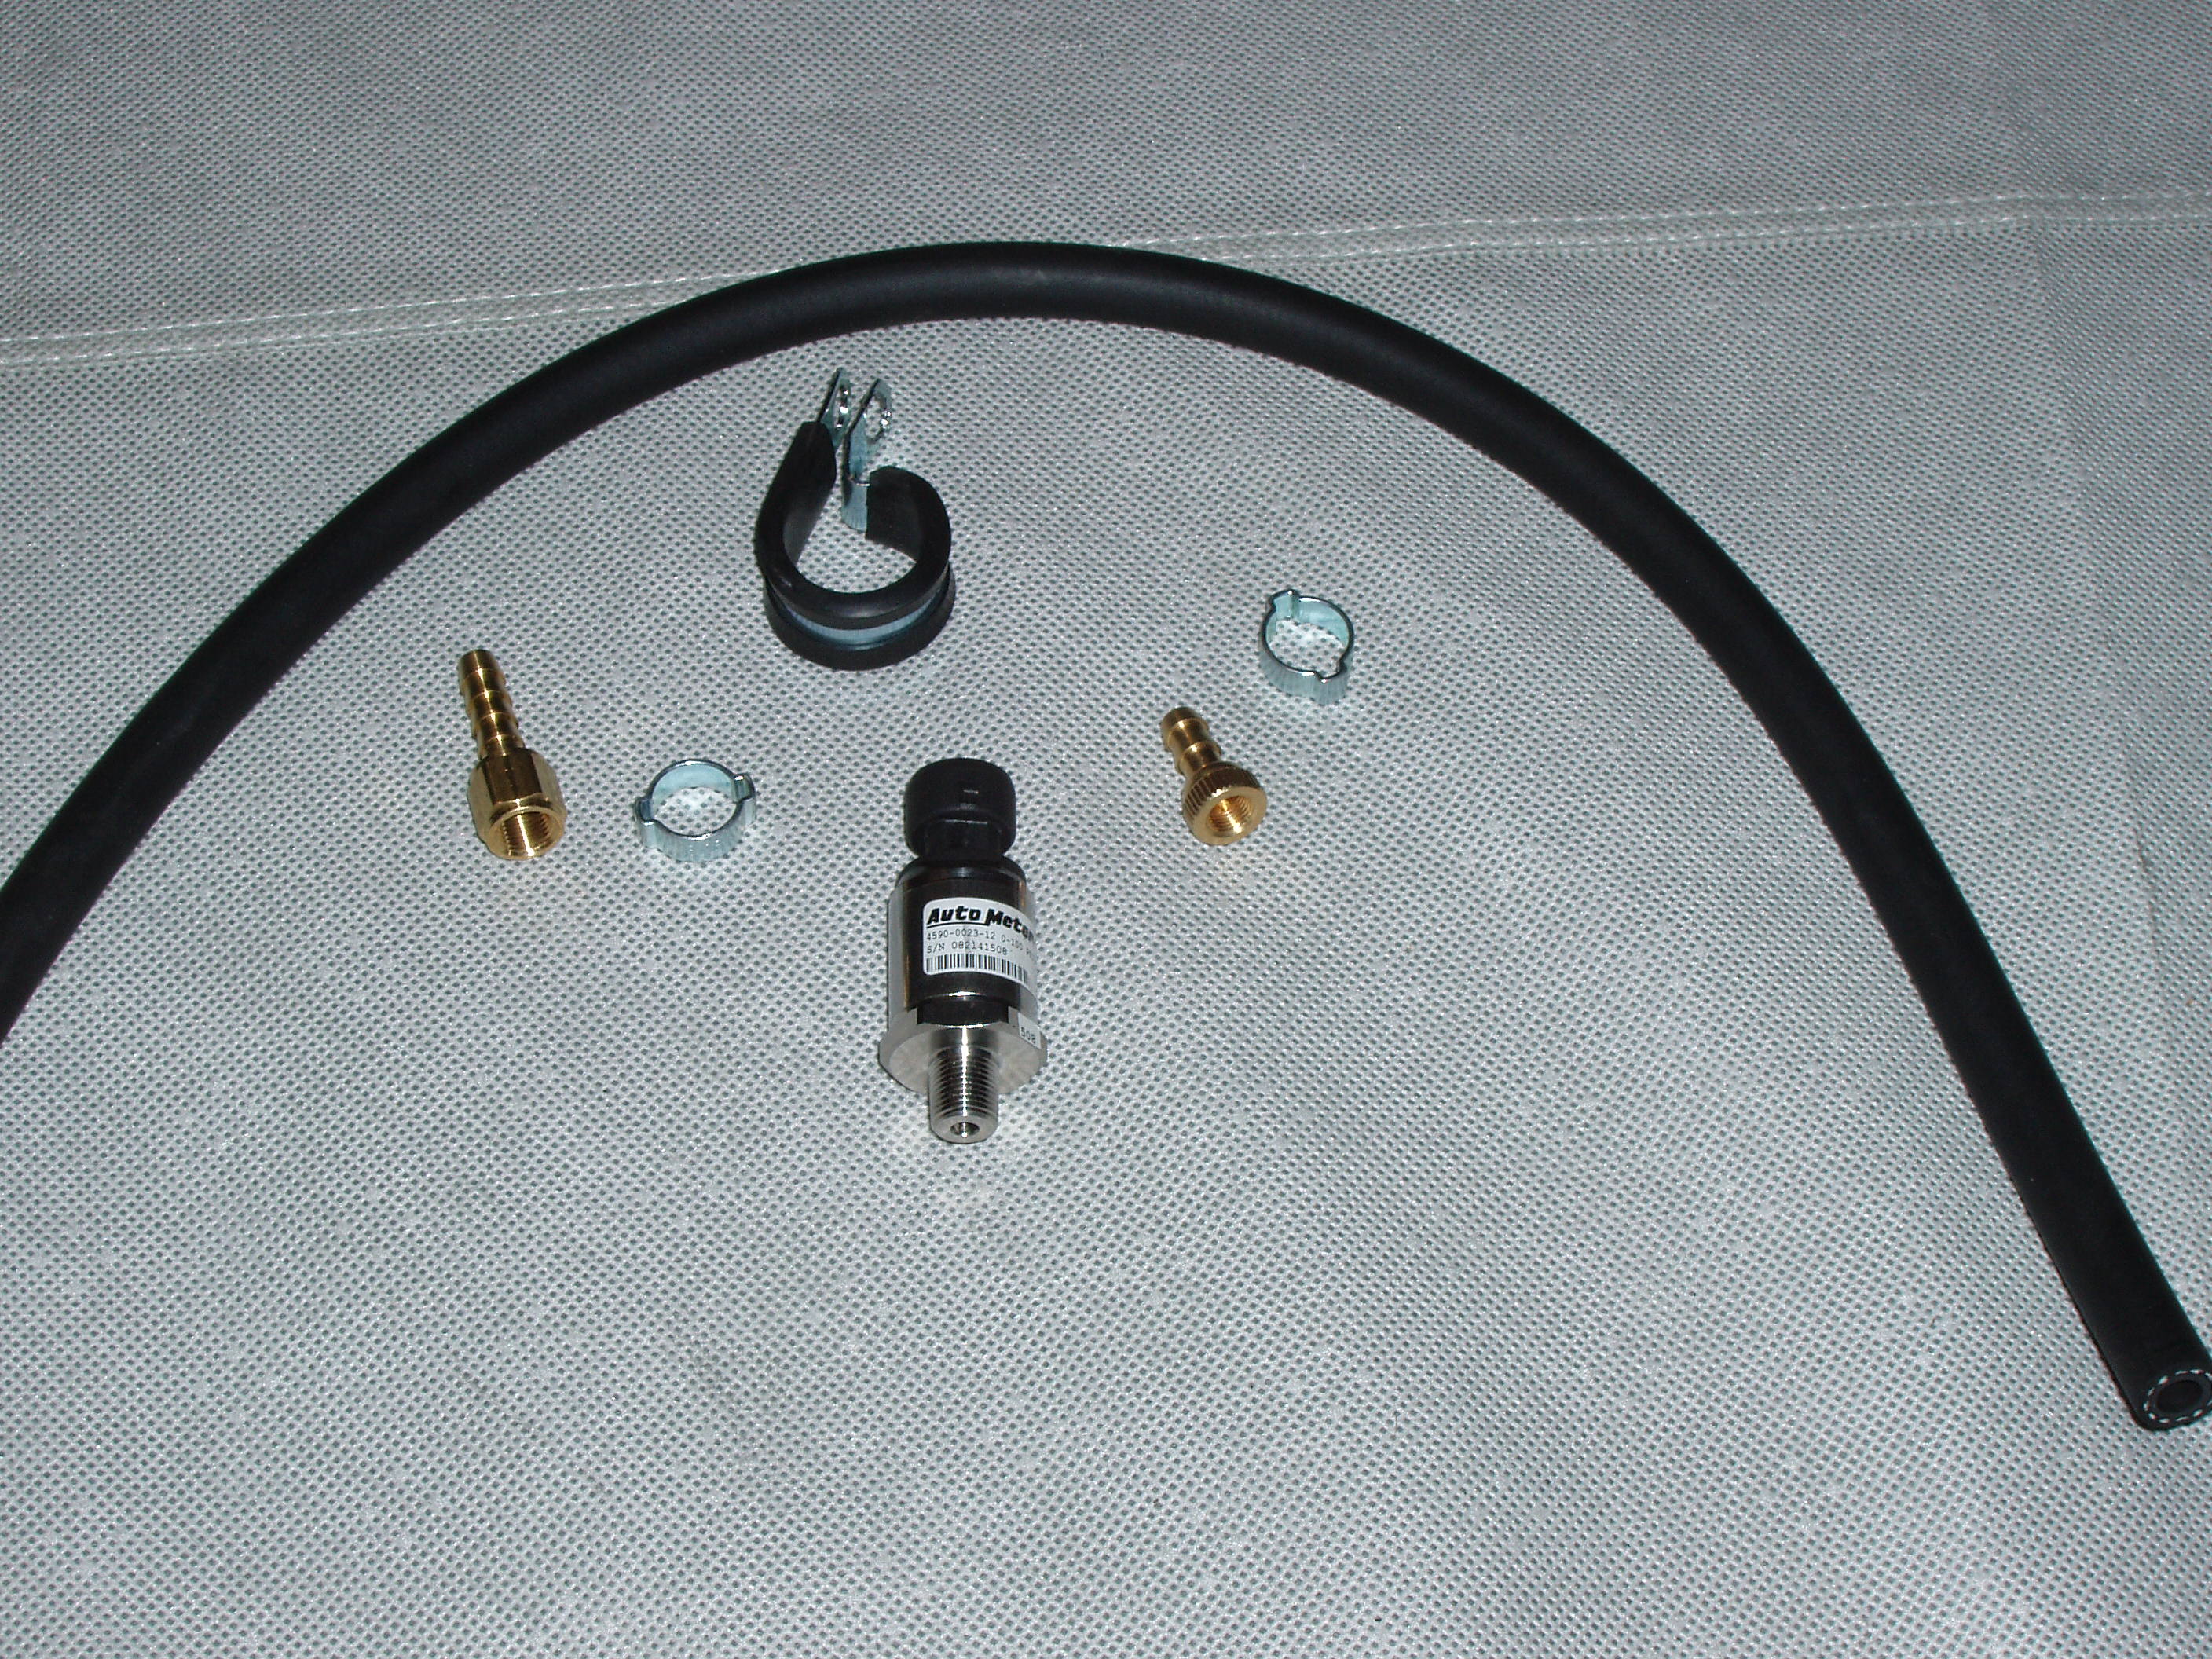
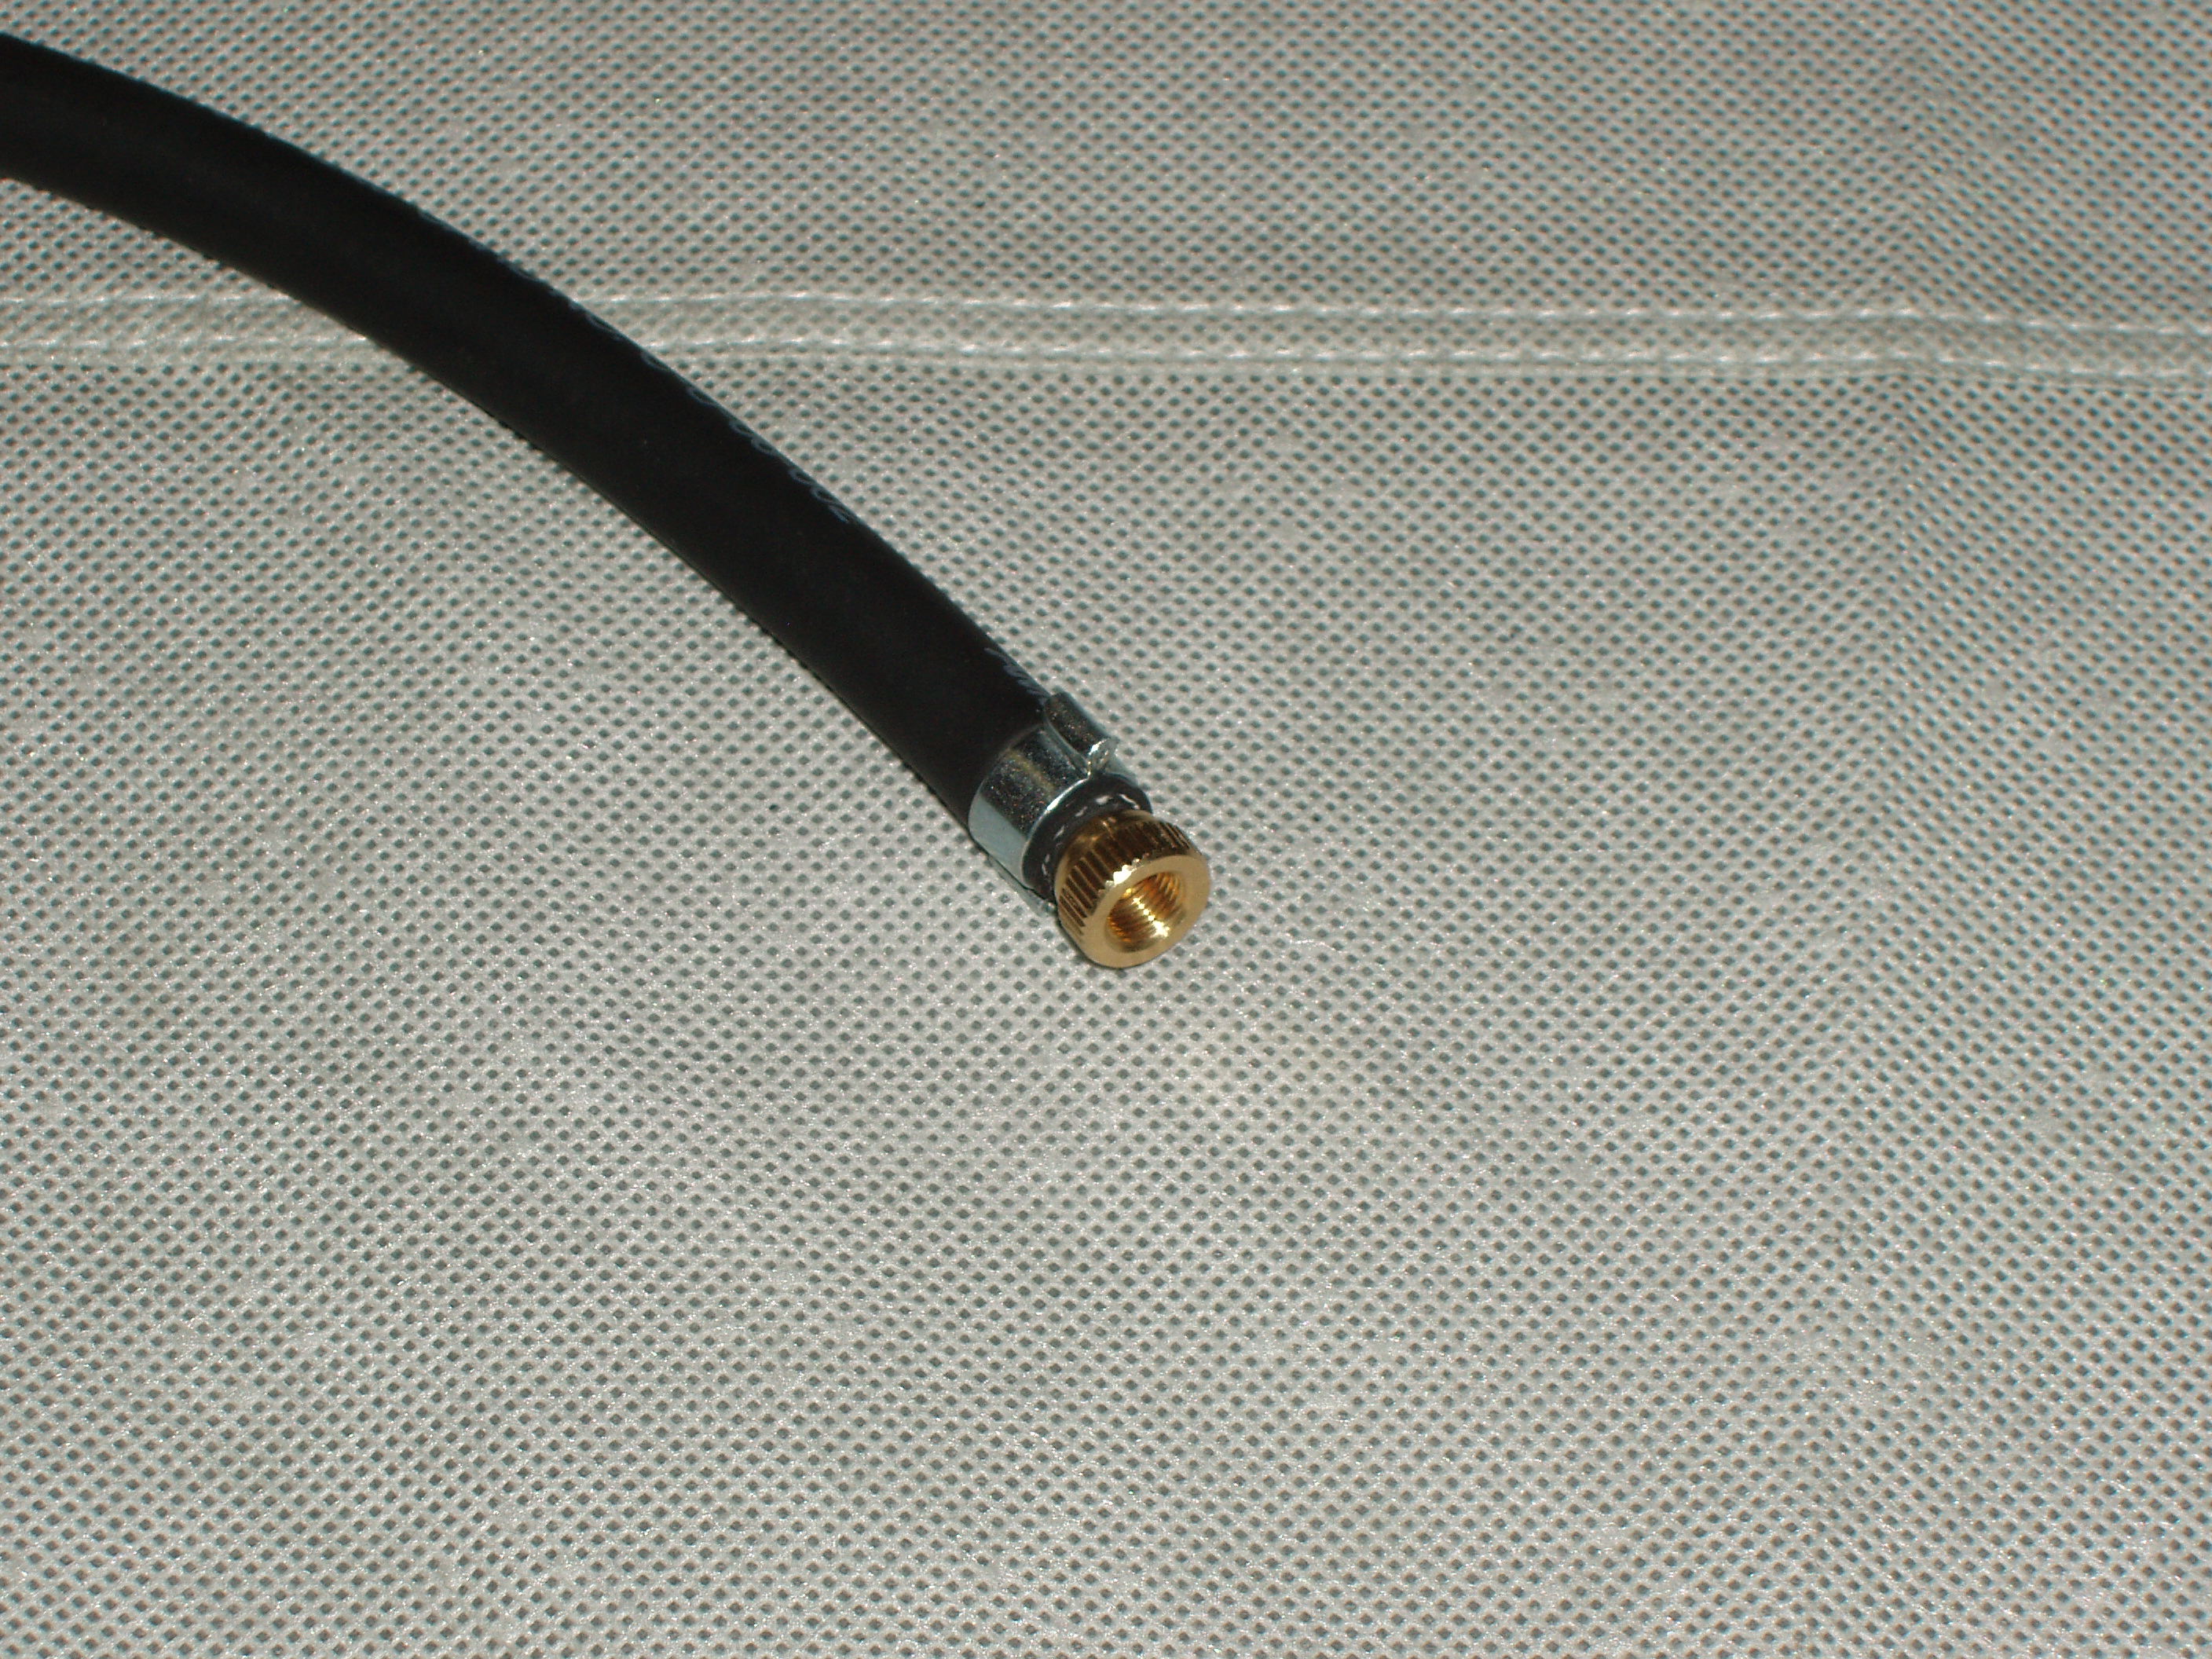
For the fuel line and fittings, I went to Royal Brass in San Jose. I bought two feet of high pressure fuel injection fuel line, a female fitting for the pressure transducer with a barb fitting on the other end, a barbed bike pump fitting and two double-ear clamps.
I also got a 1” cushion support clamp which I got from Orchard Supply Hardware store.
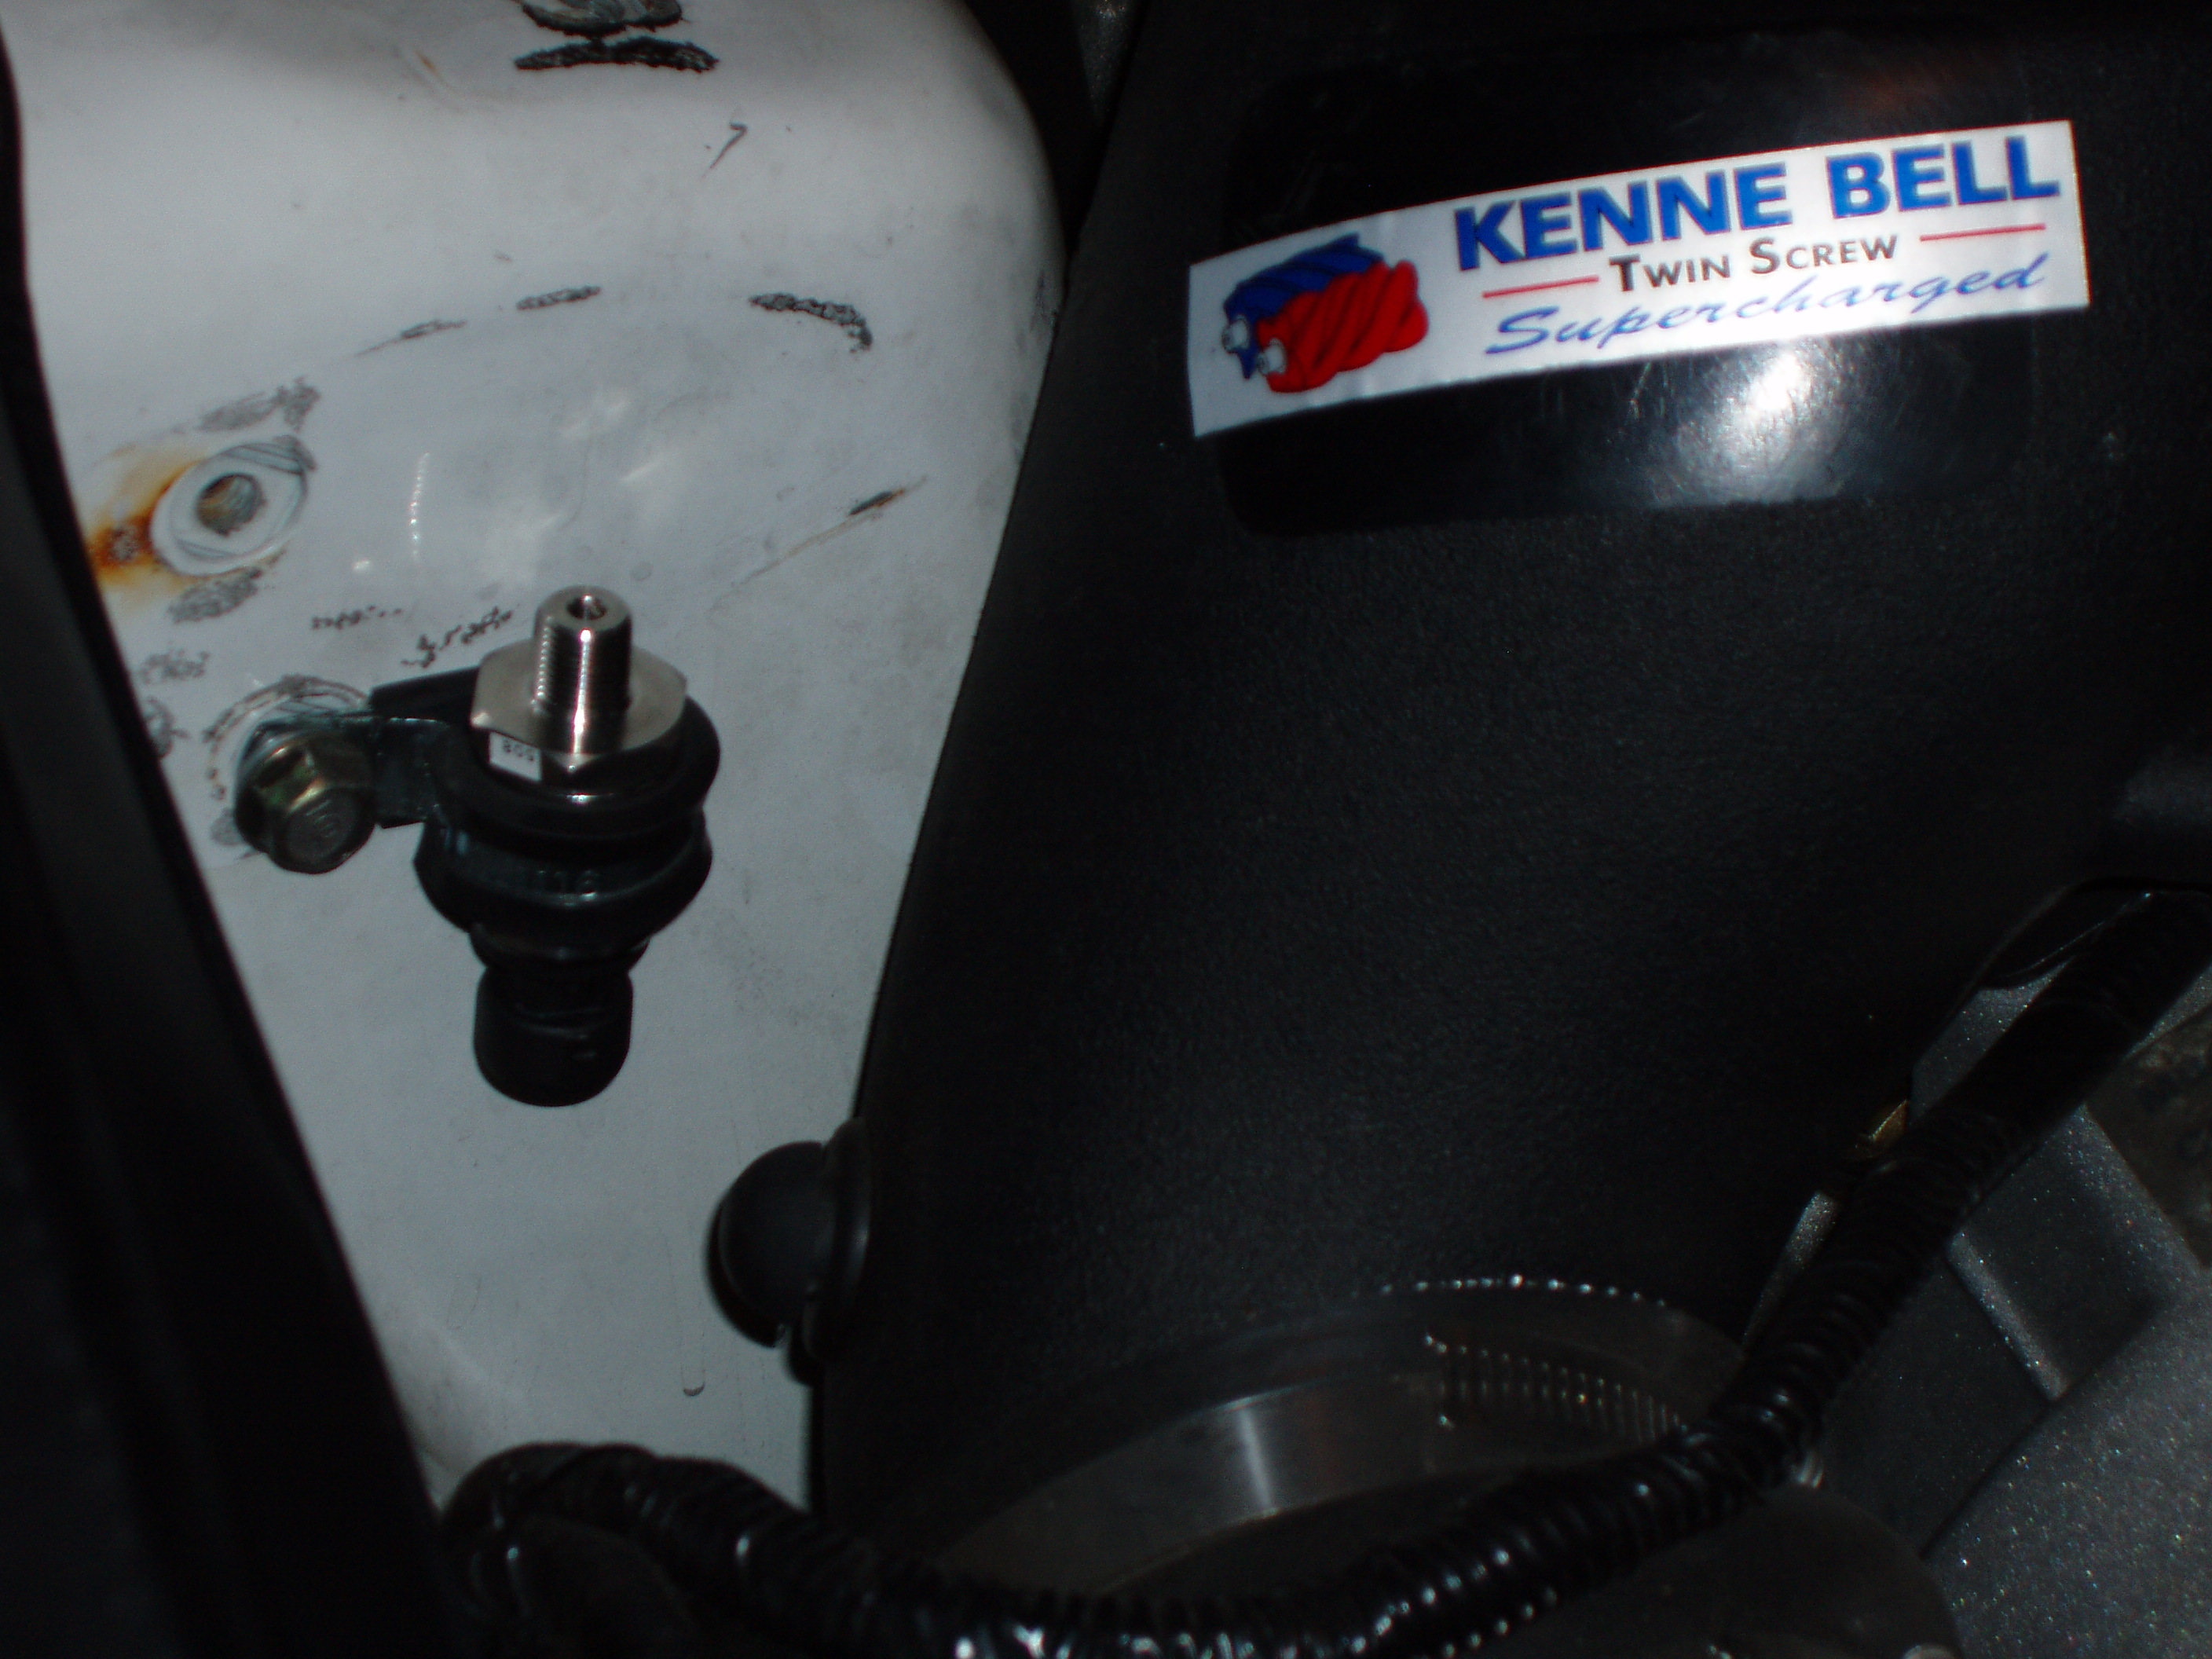
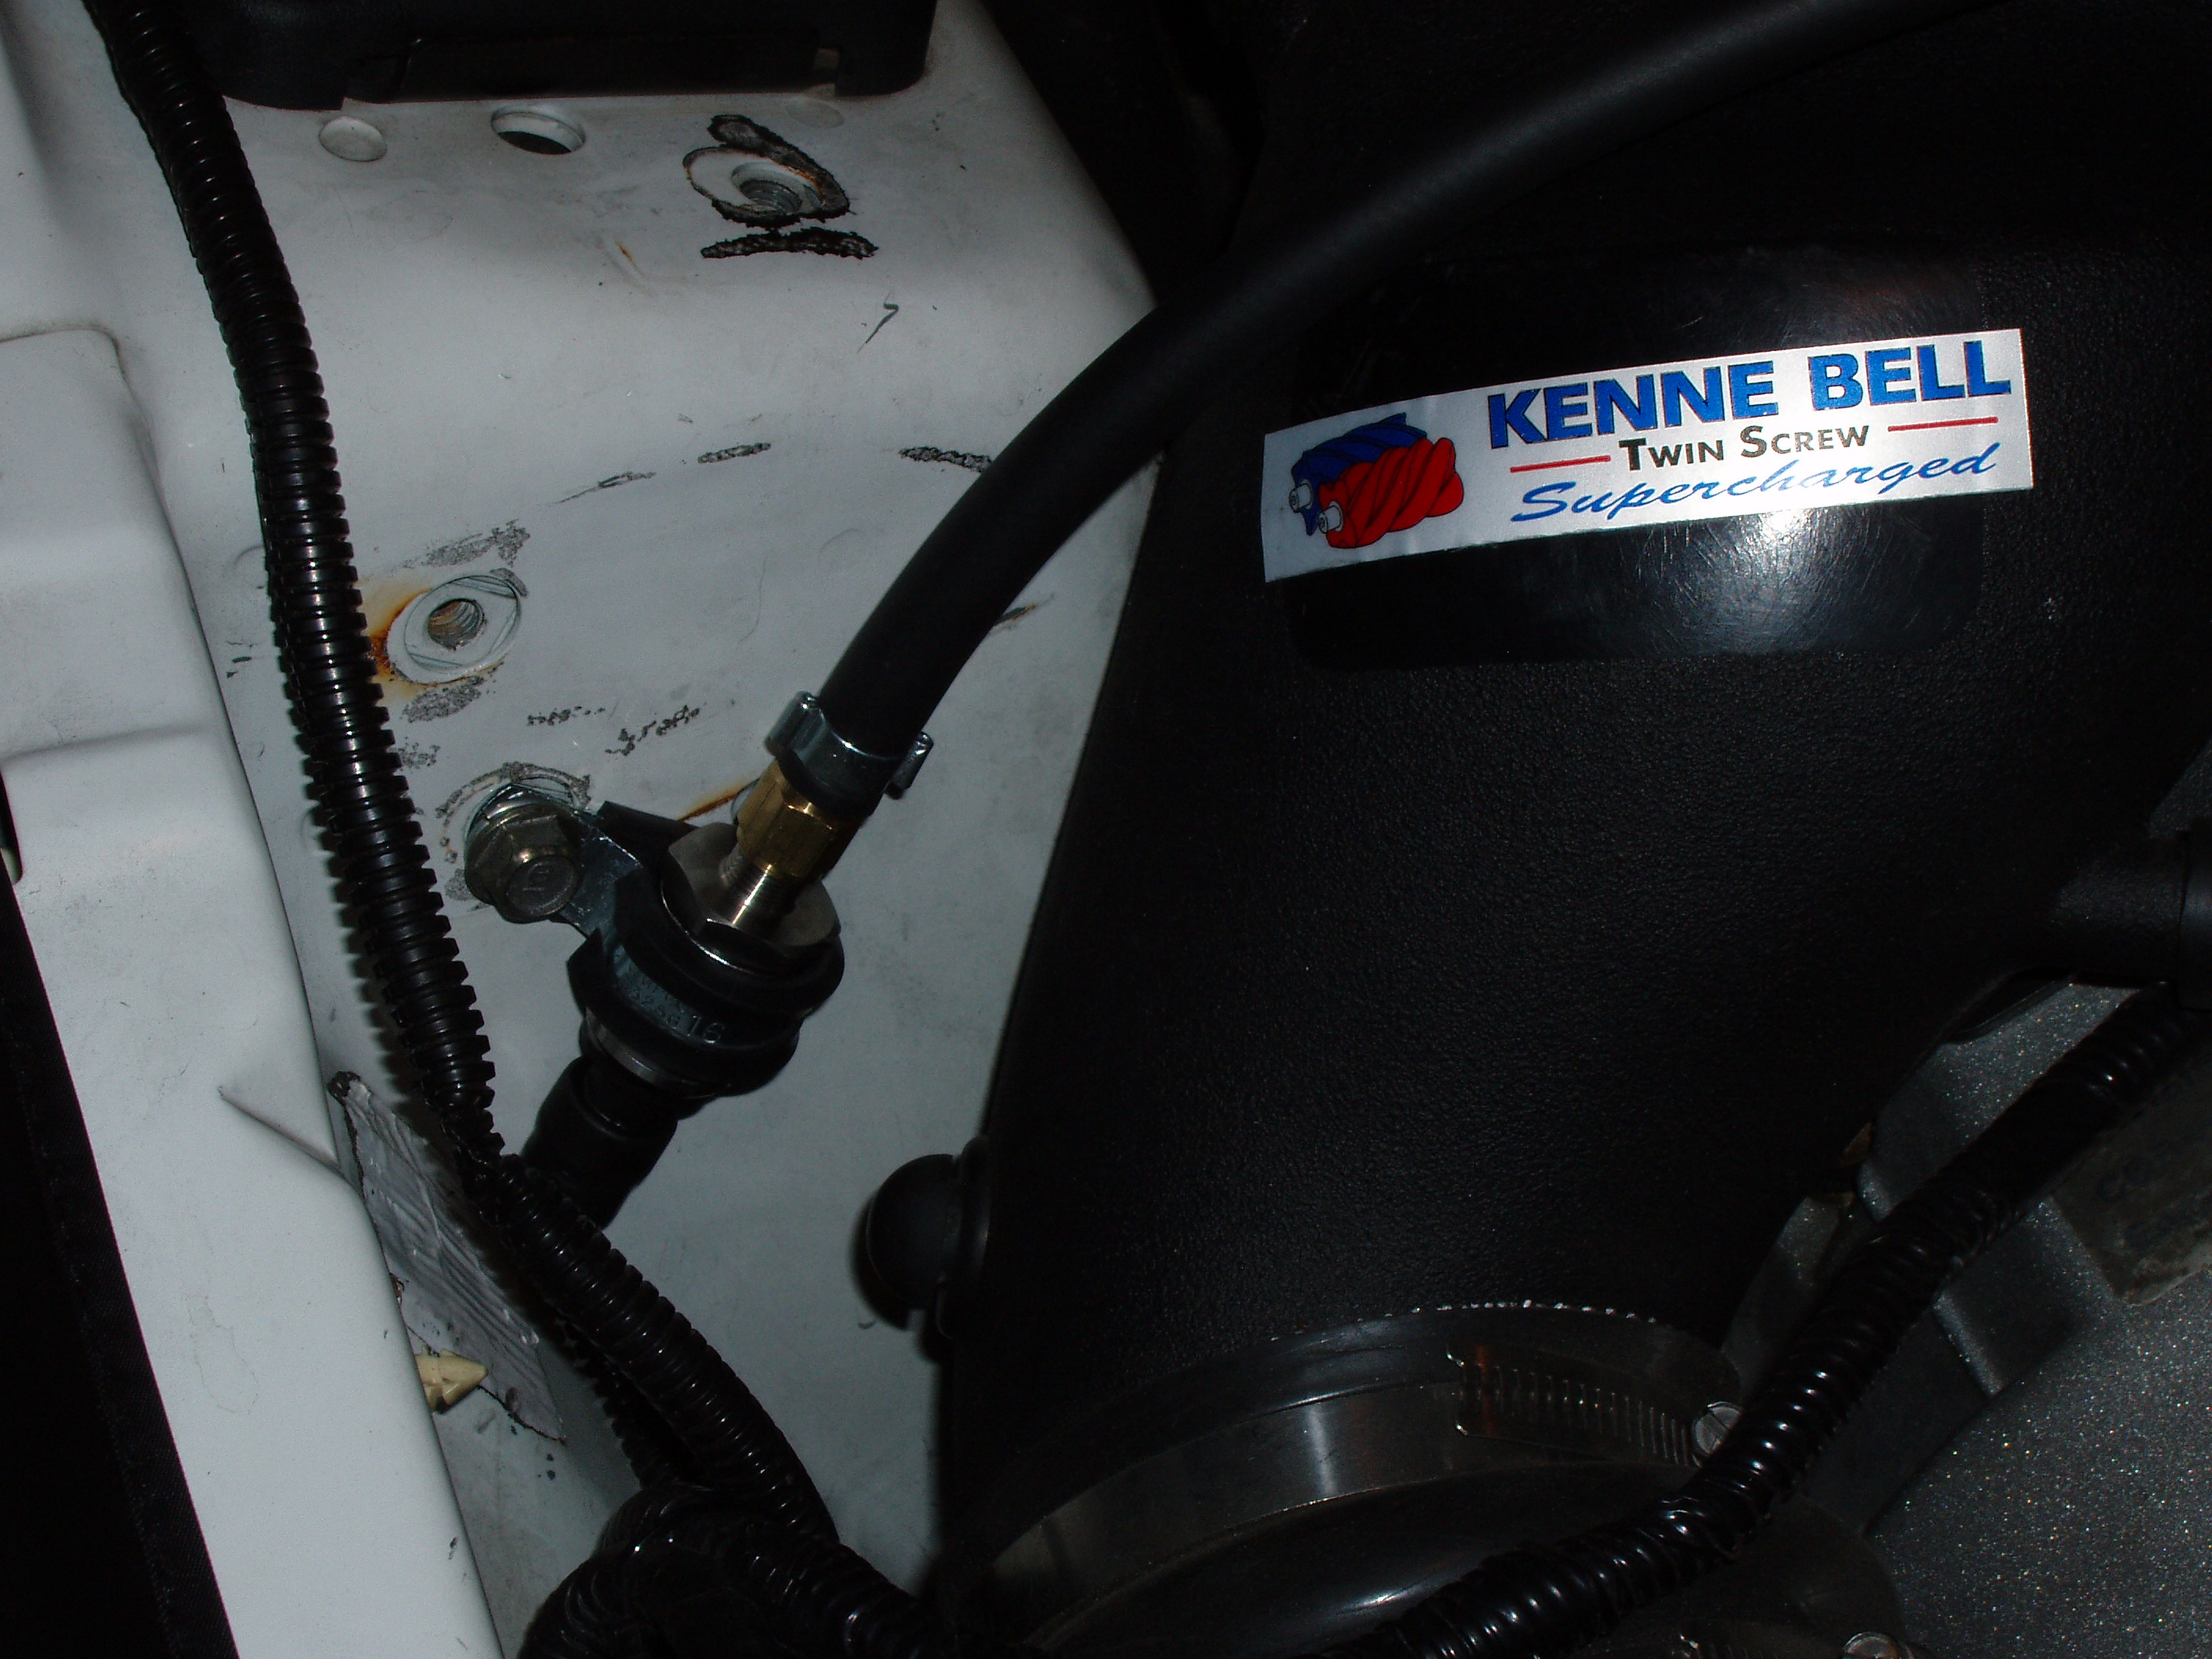
I decided to mount the transducer on the shock tower using one of the holes left when the strut bar was removed. Using pliers, I had to tighten the loop around the transducer to make it hold it securely. Since the loop is now slightly less than 1”, I needed to trim off a bit of the rubber cushion. I had to enlarge the holes in the clamp a bit to fit the strut bar bolt. If you do this, make sure you hold the clamp tight in the vice because the drill will grab the sheet metal clamp and spin it fast. You could get hurt if that happens.
Then I rerouted the fuel pressure gauge wiring to reach the new mounting location.
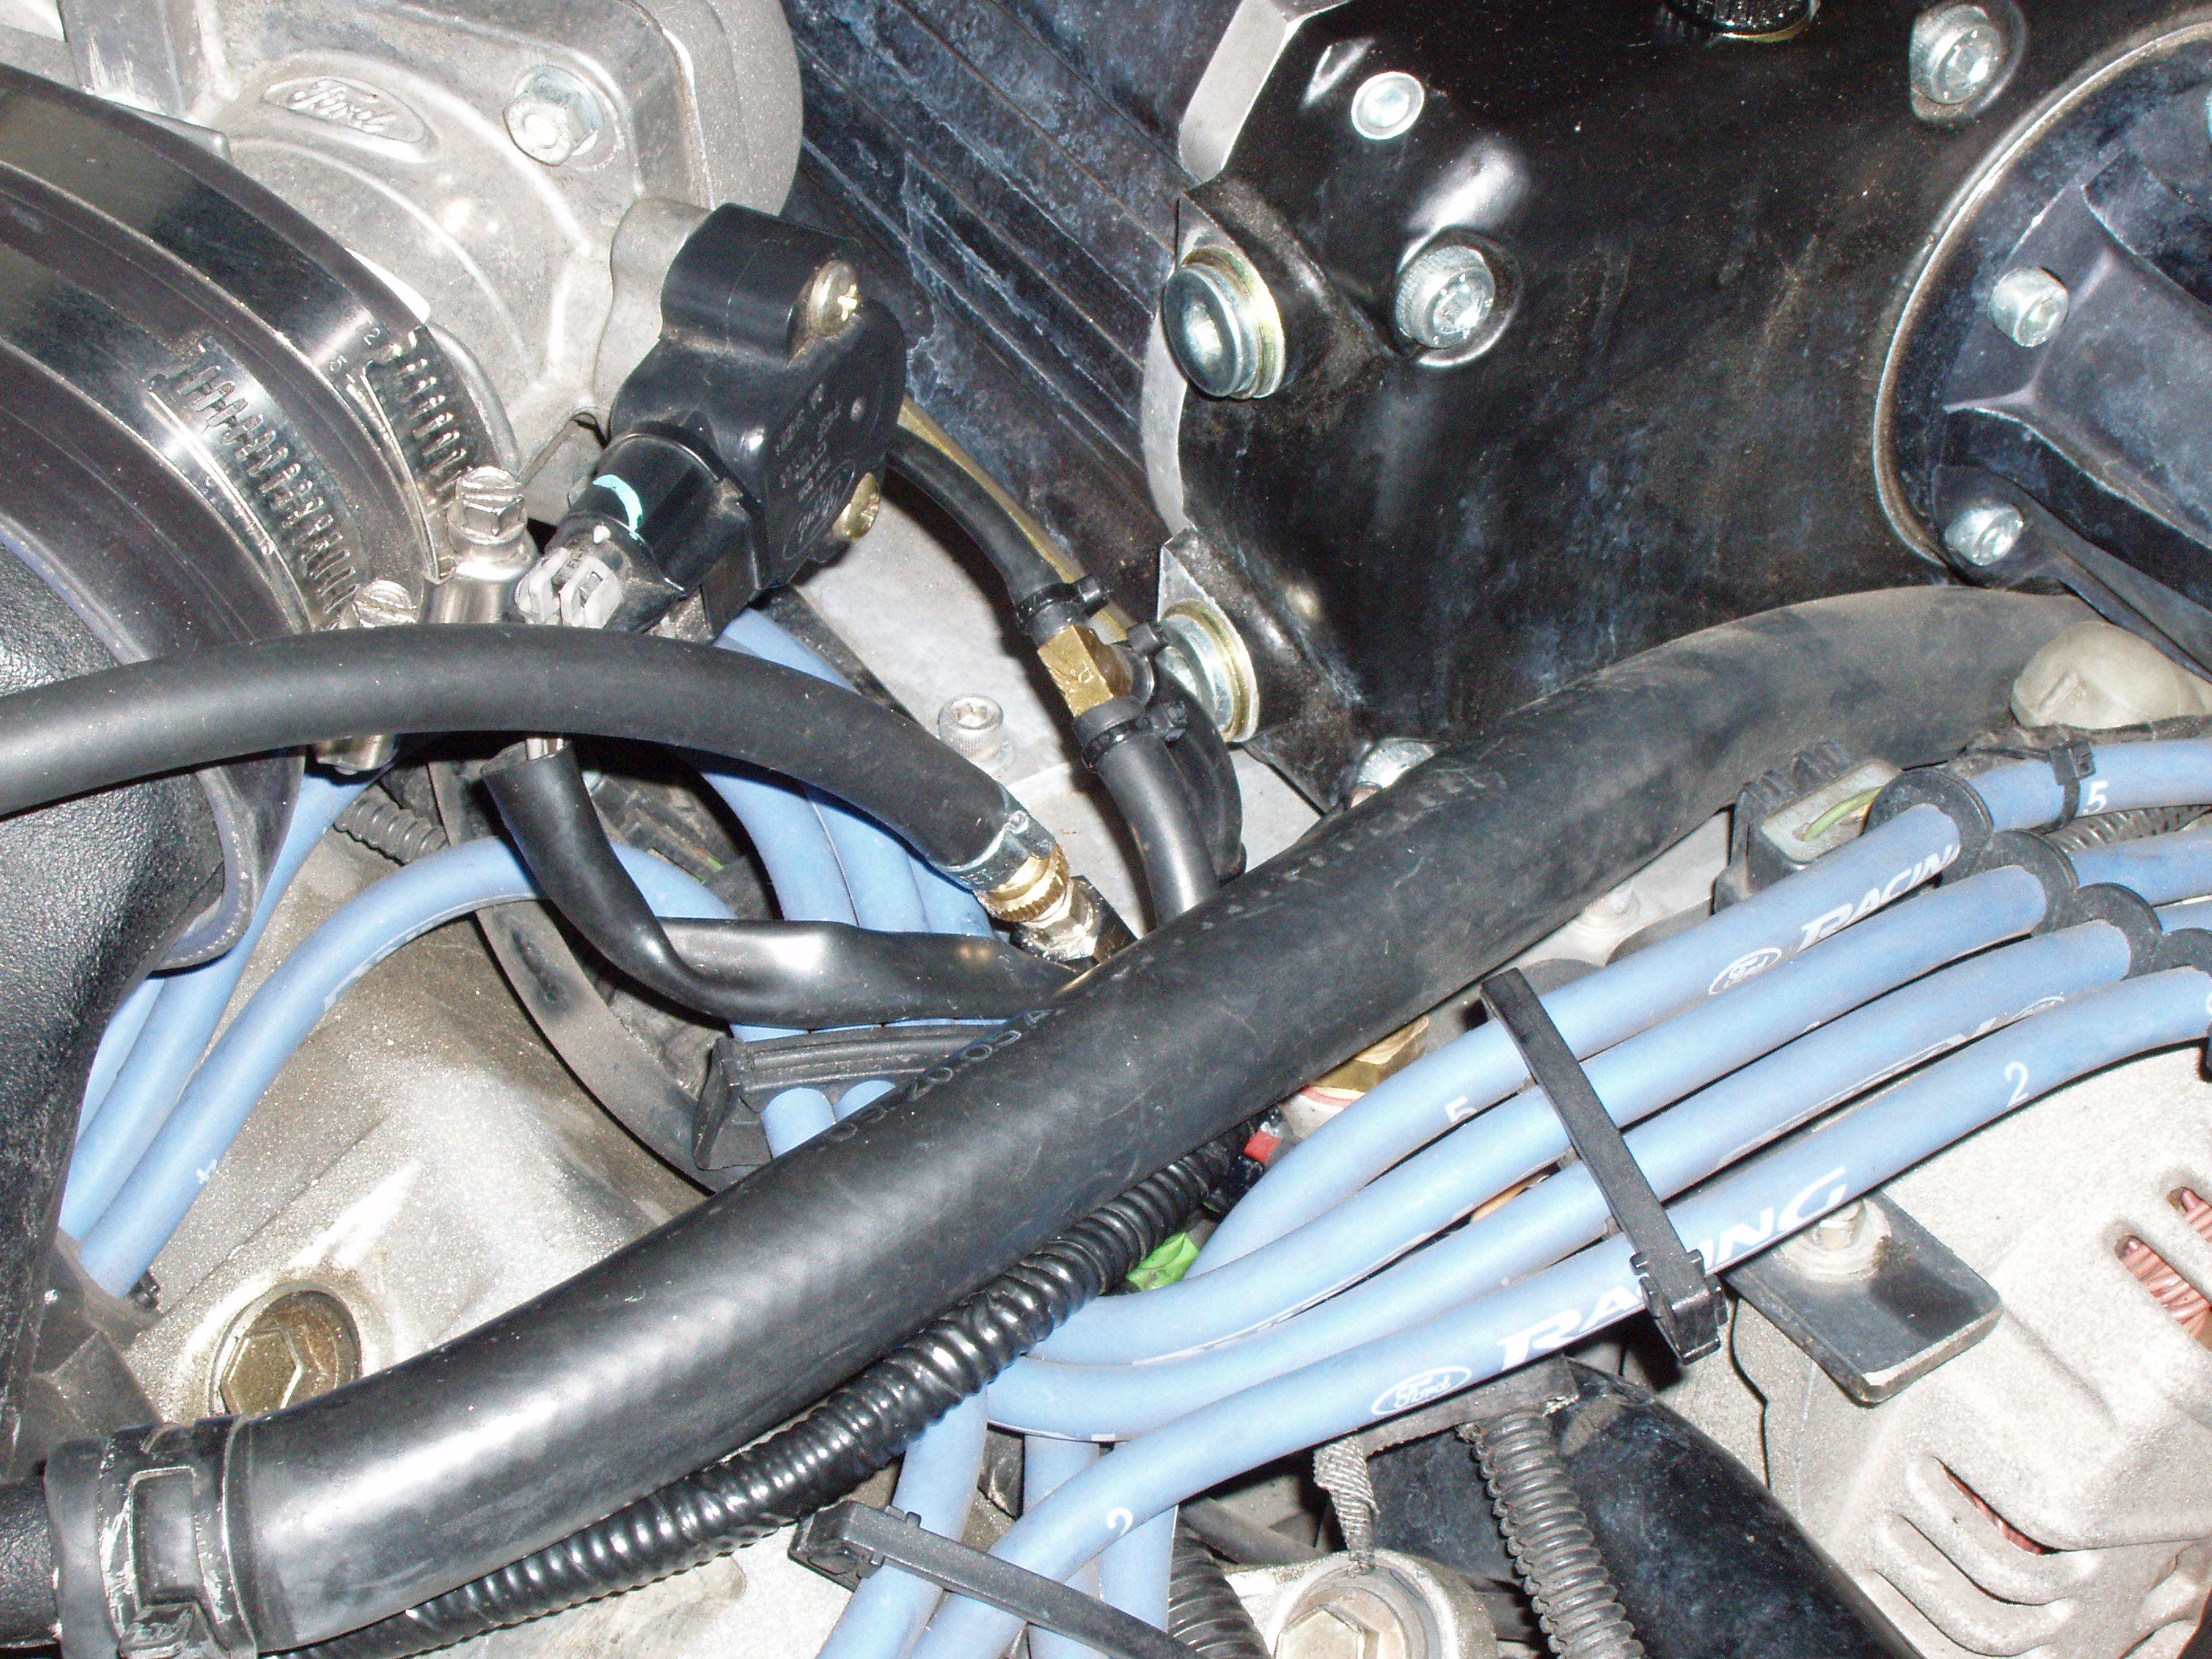
I put one of the double-ear clamps on the fuel line, pushed the barbed side of the female transducer fitting into one side of the fuel line. Using a diagonal cutter, I crimped the double ears to secure the fitting. I test fit it onto the transducer on the shock tower and cut the fuel line to reach the Schrader valve on the fuel rail.

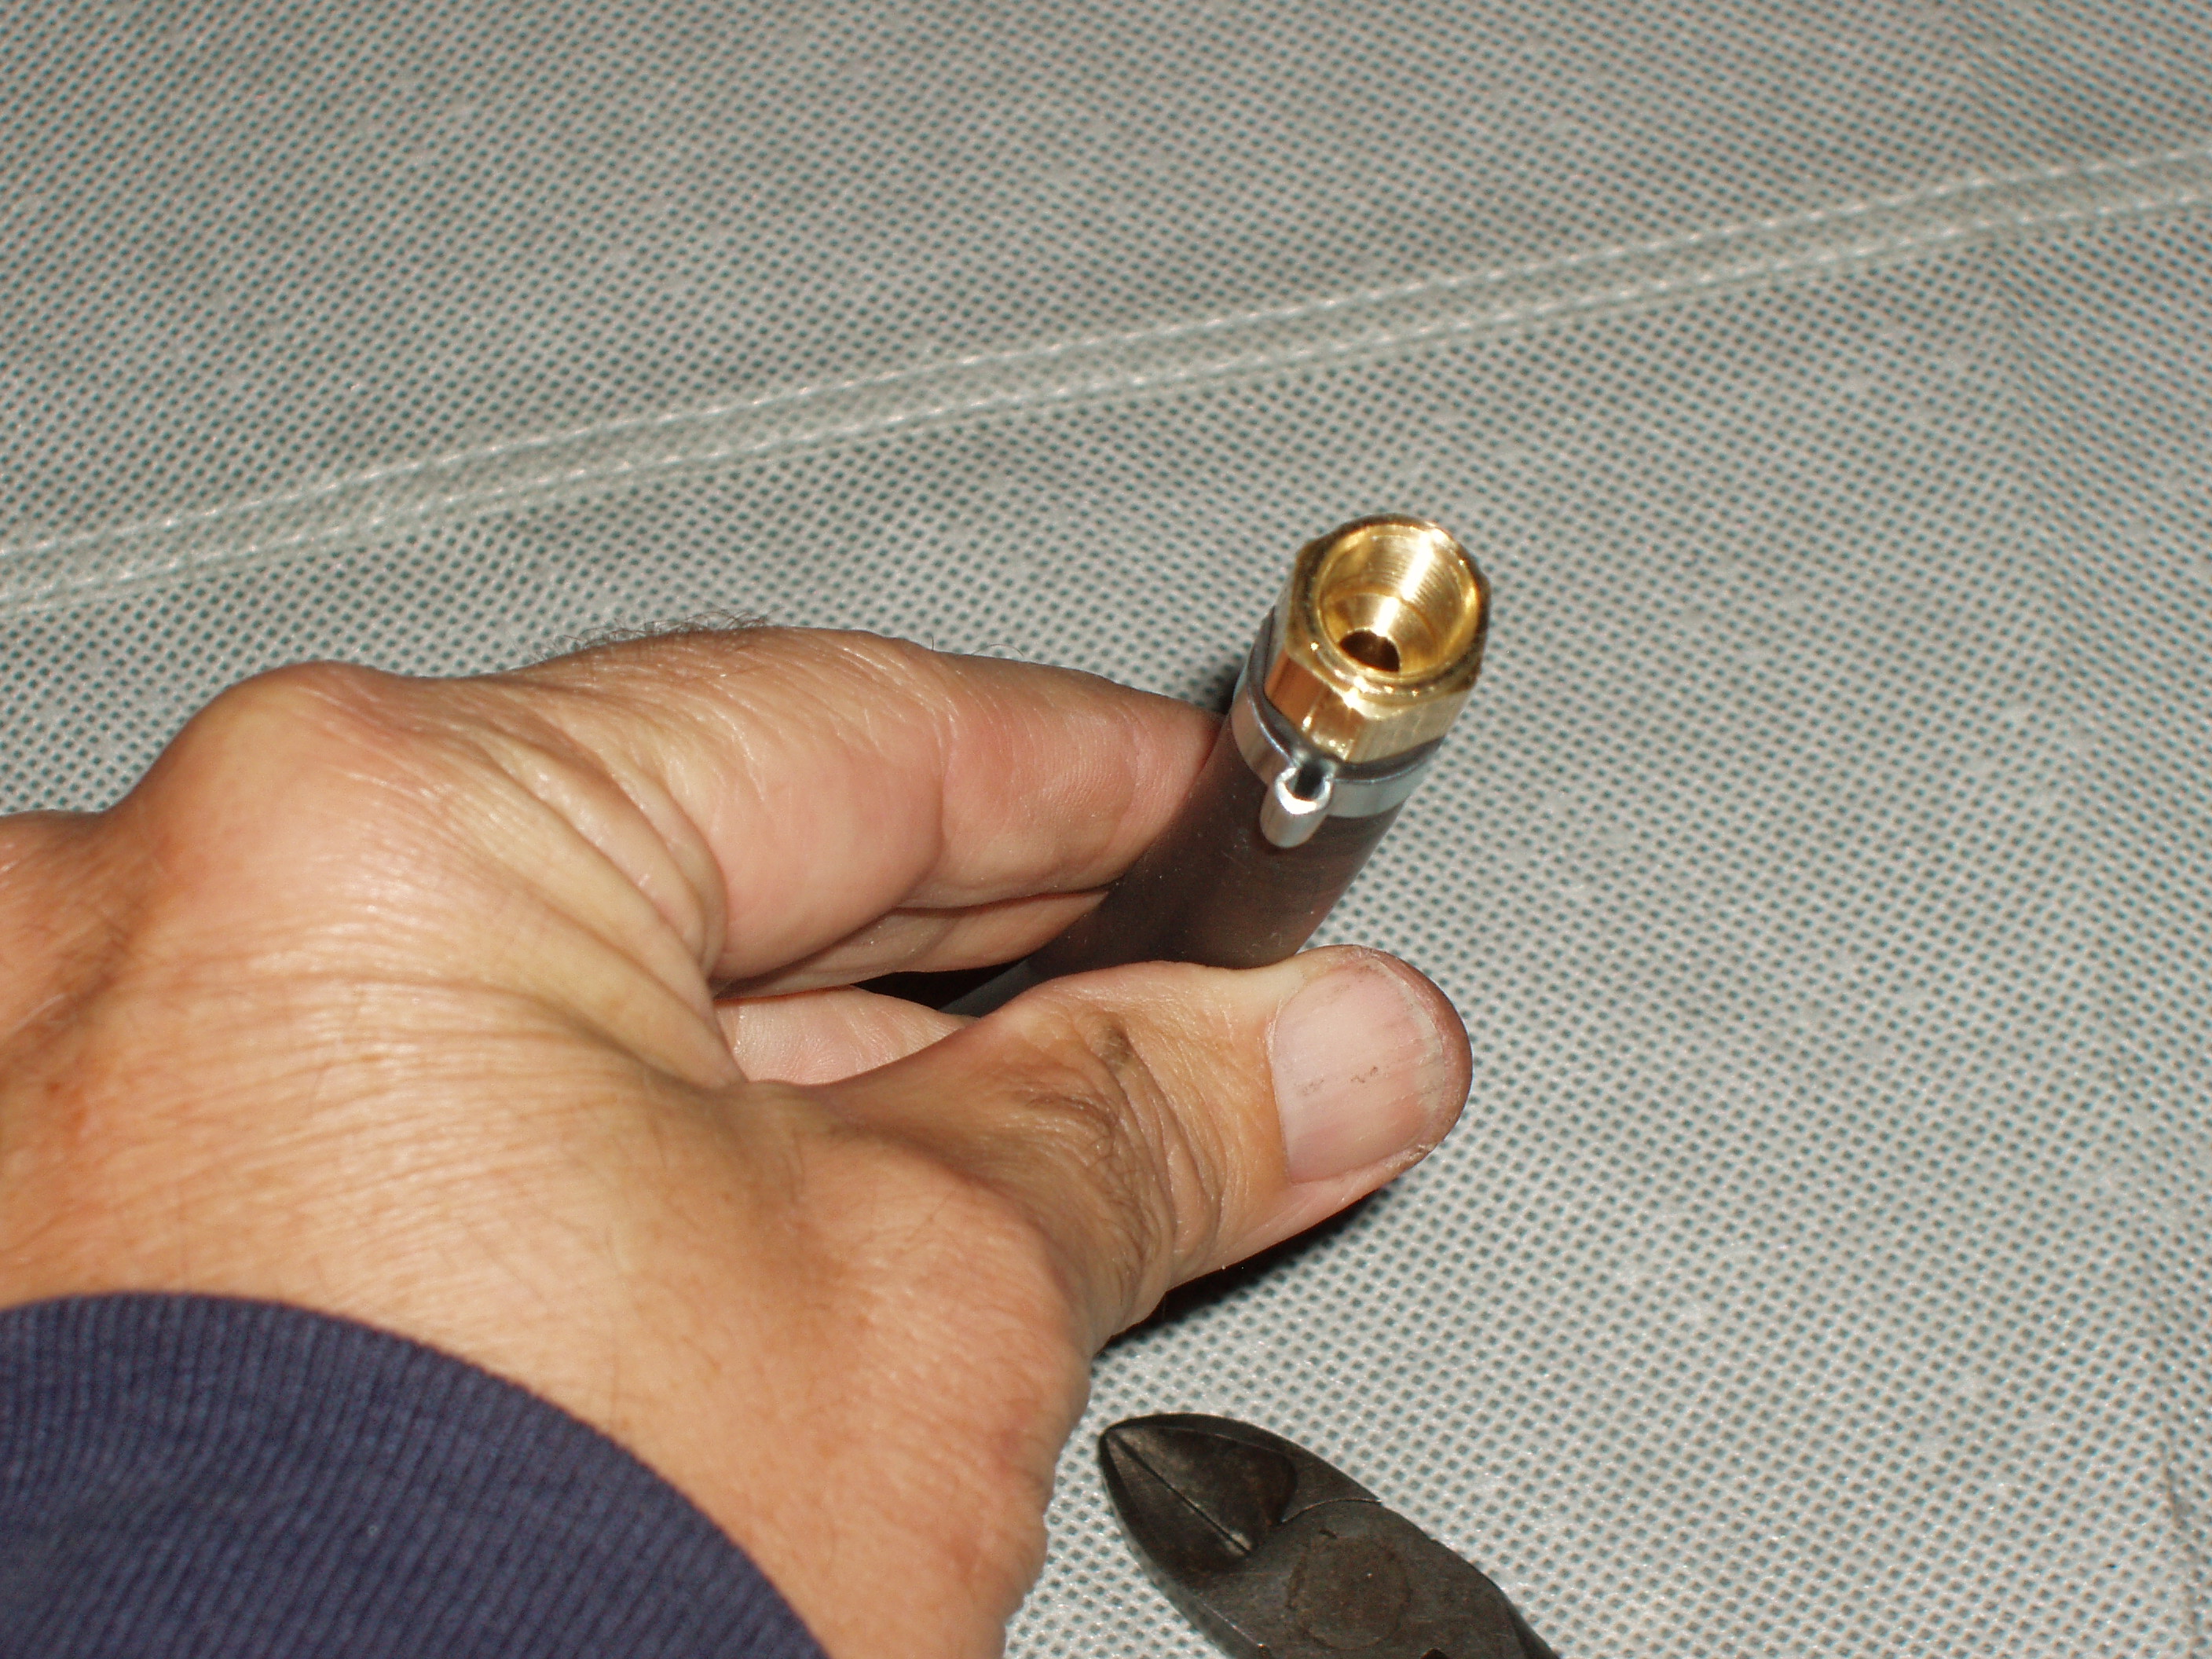
I put the other double-ear clamp on the fuel line and inserted the barbed end of the bicycle pump fitting into the fuel line. I crimped the double-ear clamp on the hose to secure the bike pump fitting.
I tightened the pipe fitting on the transducer and tightened the bike pump fitting on the Schrader valve.
When I tested the setup, the gauge read properly, but I had fuel leaks at both ends of the fuel line. I tightened the pipe fitting on the transducer very tight, and took the fuel line and transducer back to Orchard Supply Hardware to buy a 3/16” O-ring to fit inside of the bike pump fitting.
After I reinstalled the fuel line, I had no leaks, but the pressure transducer seems to have stopped working. I see 5V across the gray and black wires as I should, but I also see 5V across the black and purple wires, which is not right. I later determined that the O-ring in the bike pump Schrader fitting prevented the pin from opening the Schrader valve. Grrr...
11-25-08:
Since I determined that the bike pump fitting with the added O-ring didn't allow the pin to open the Schrader valve, I decided to buy a barbed male pipe fitting, which I did. I reused the brass reducer that Apex had mounted on the fuel rail with the initial install and used Permatex fuel-rated thread sealer on the threads. It is working great now. It will be easier to debug my continuing AF issues at the top of my WOT runs.
Oh, and I ran the gauge wires and boost gauge lines through a slit in the main harness grommet on the driver's side: